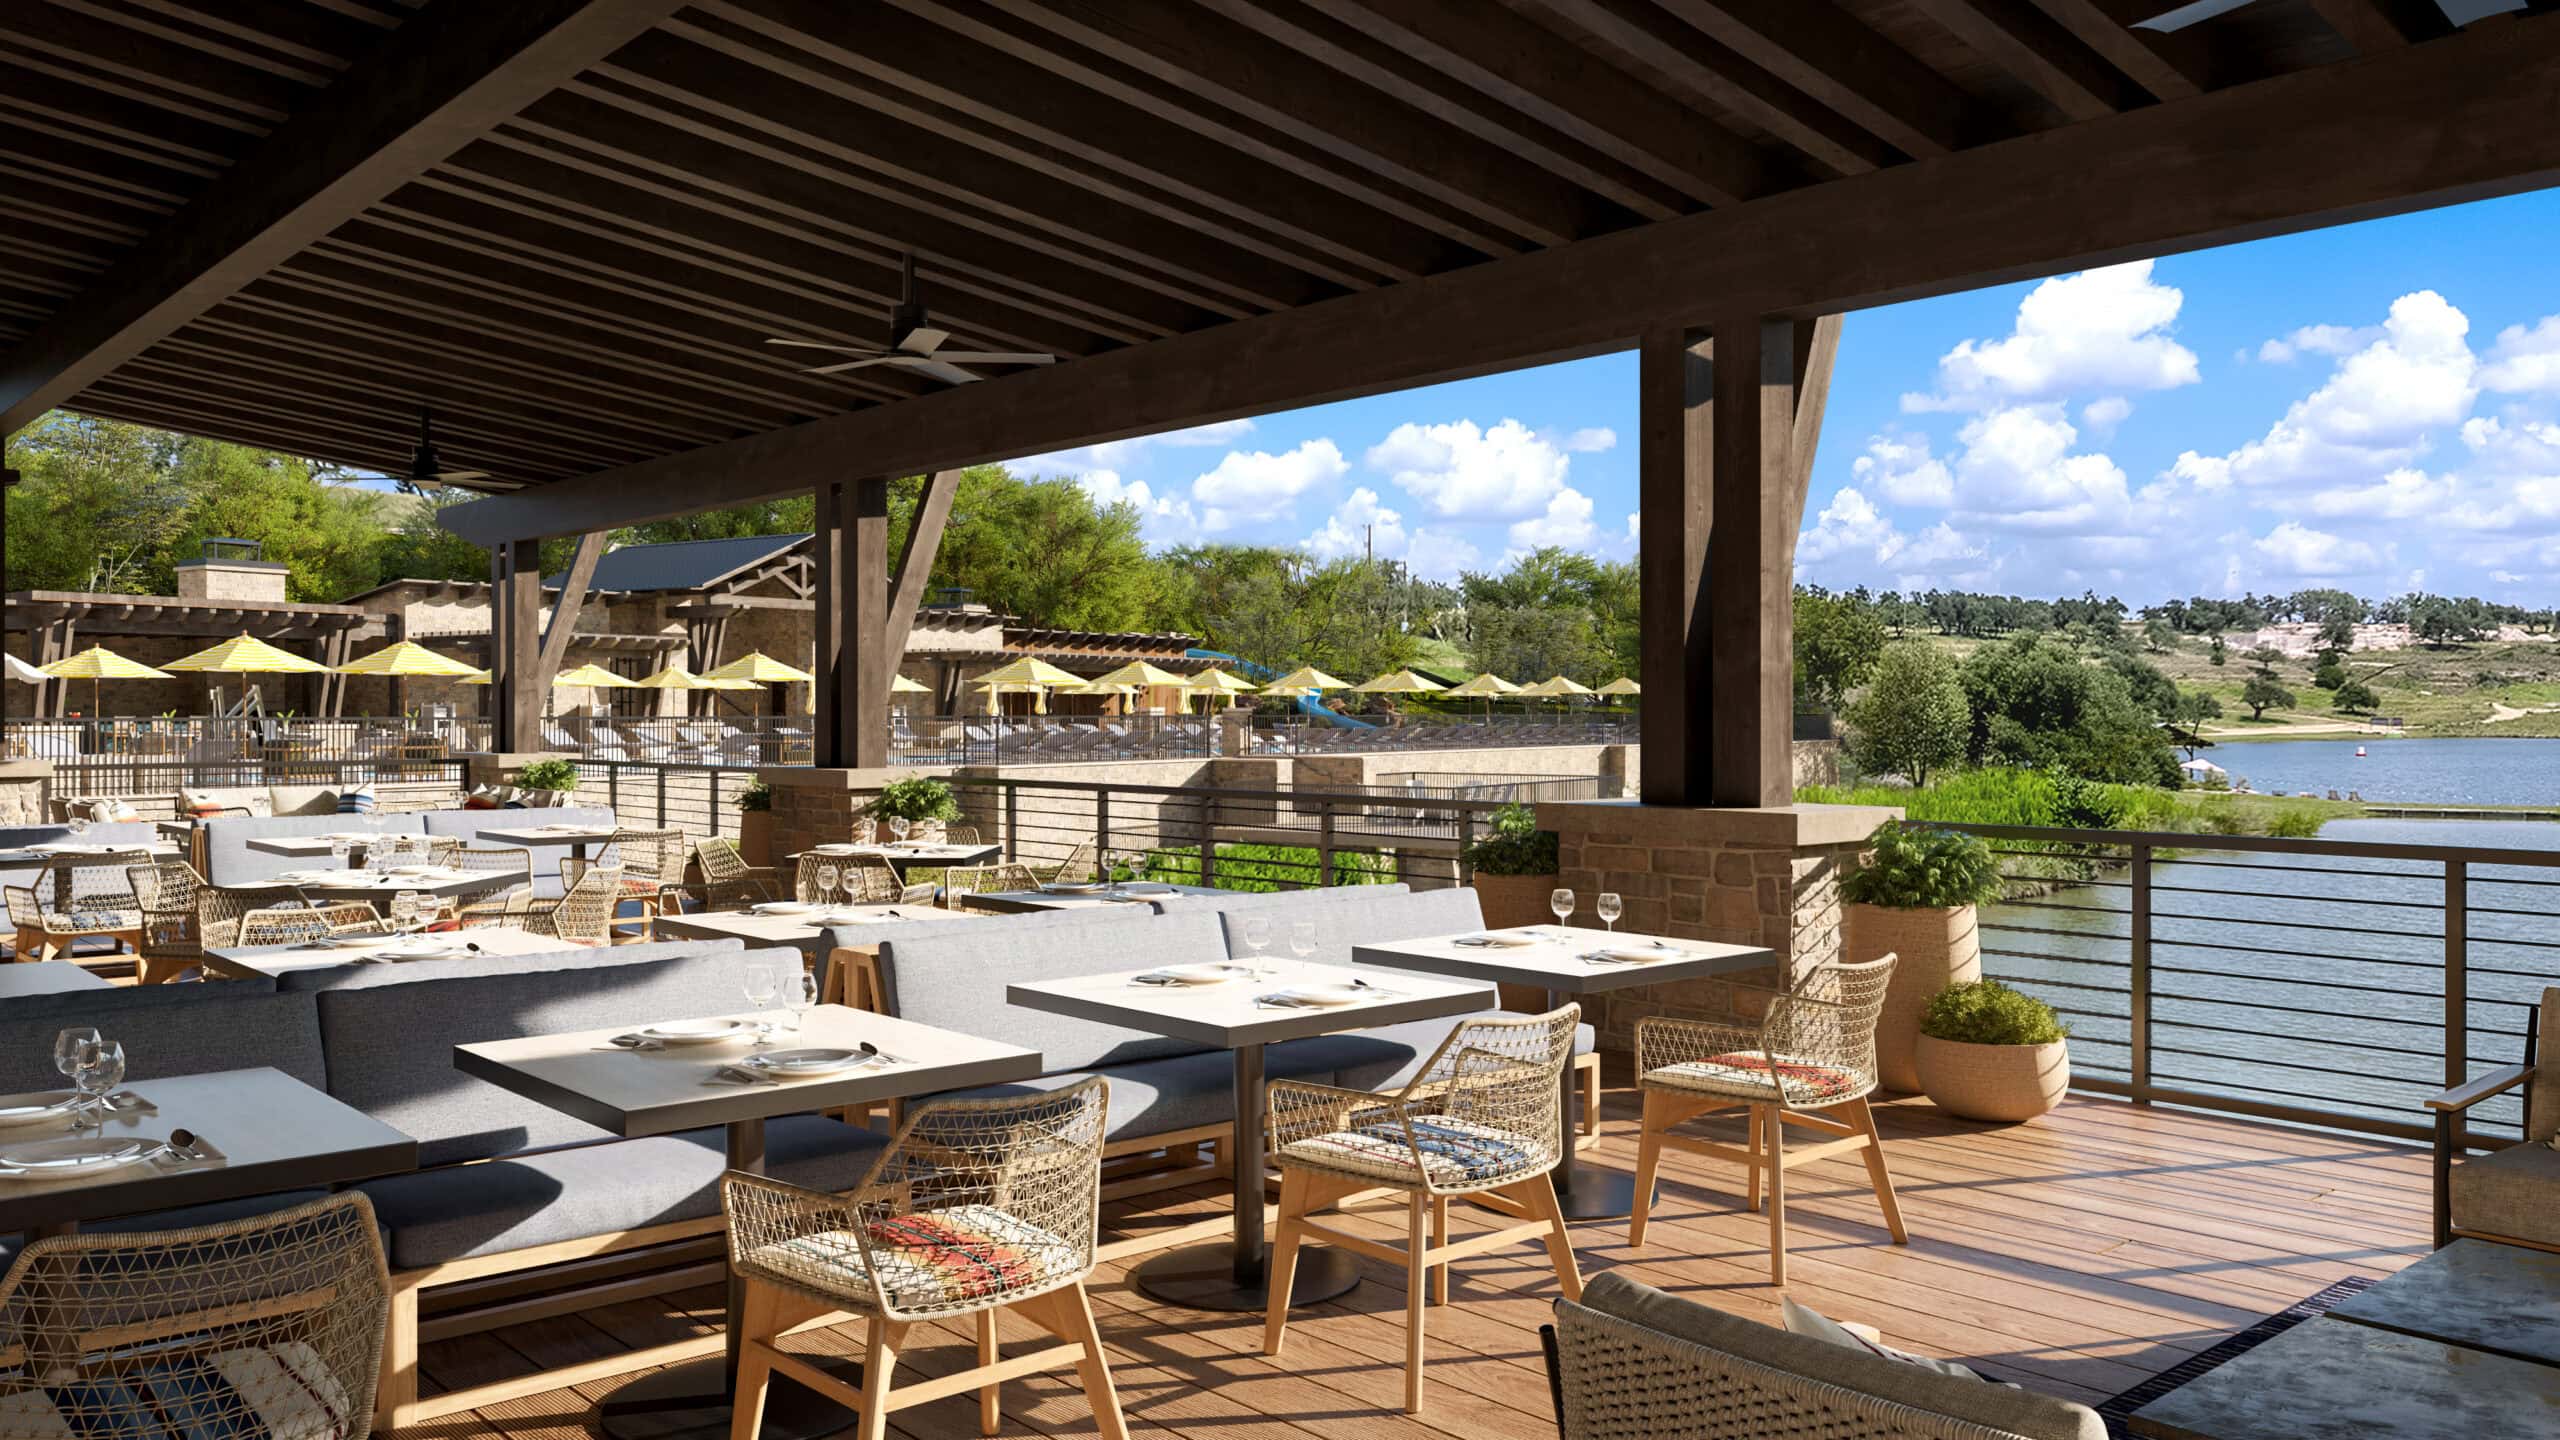
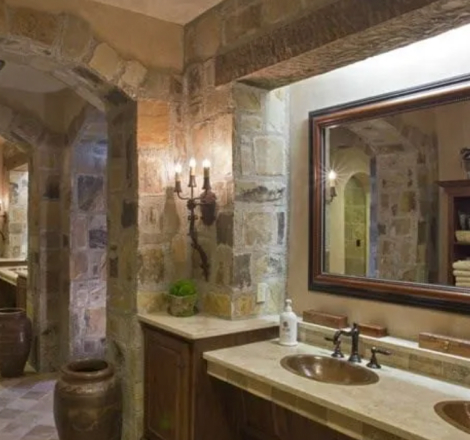
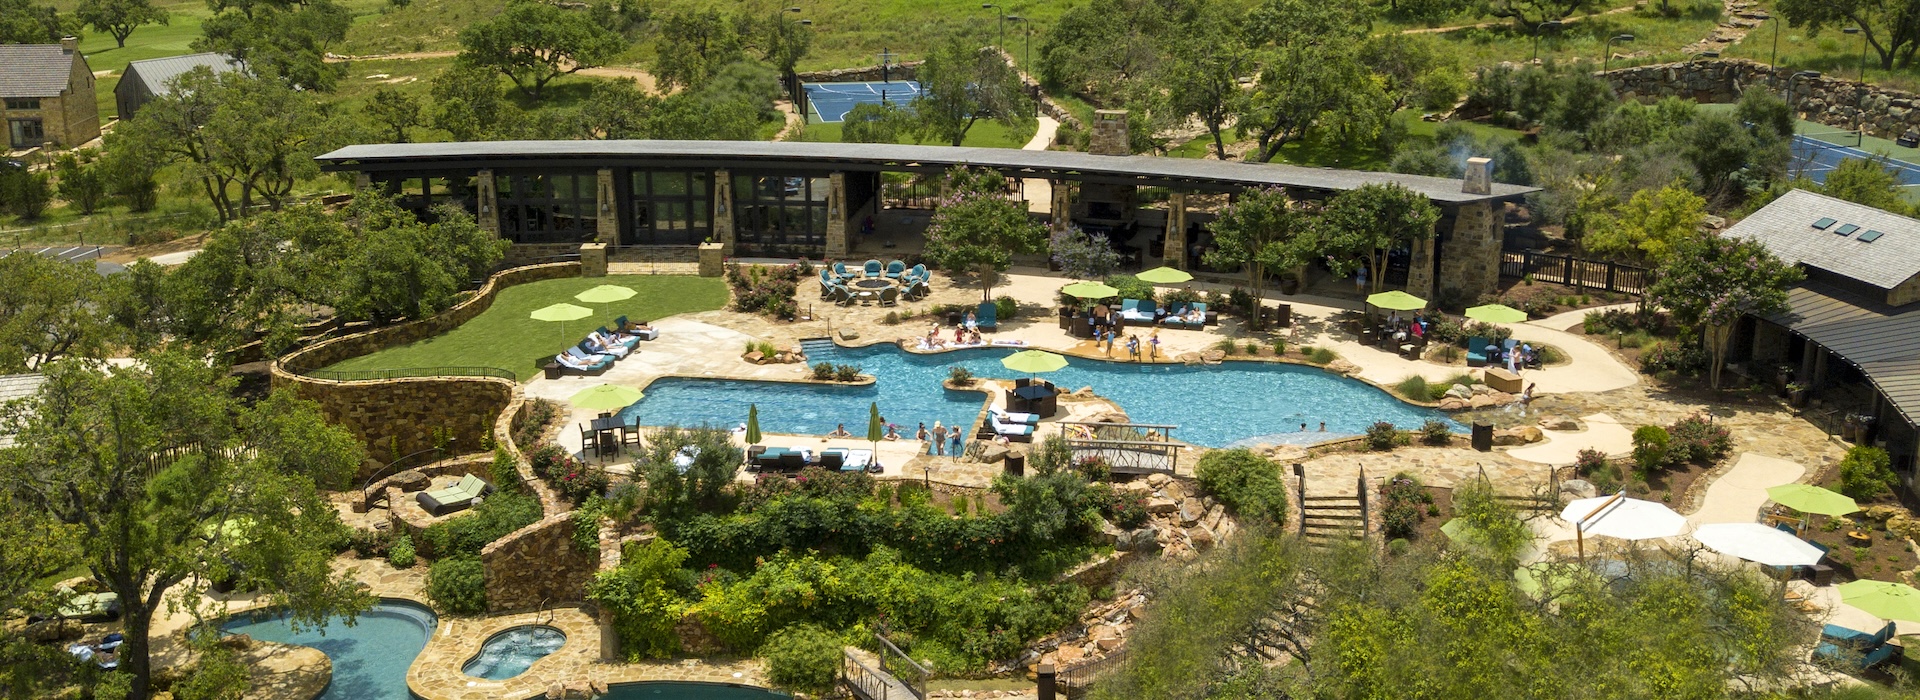
Welcome to Longhorn Landing
Get a sneak peek at Longhorn Landing: your newest destination for family fun at Boot Ranch.
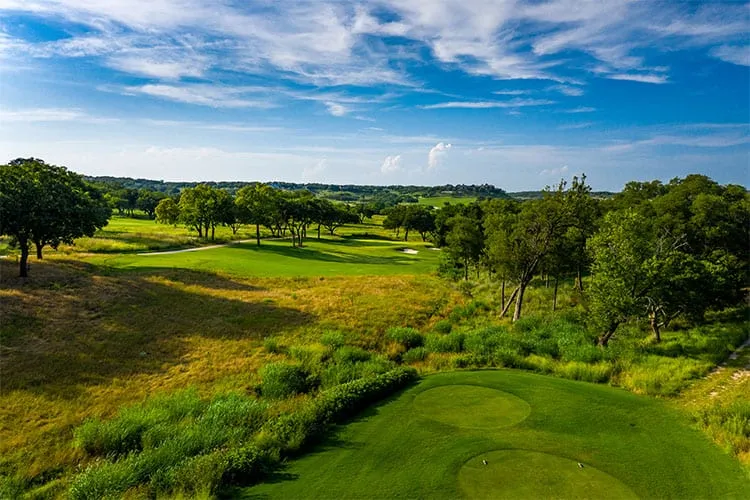
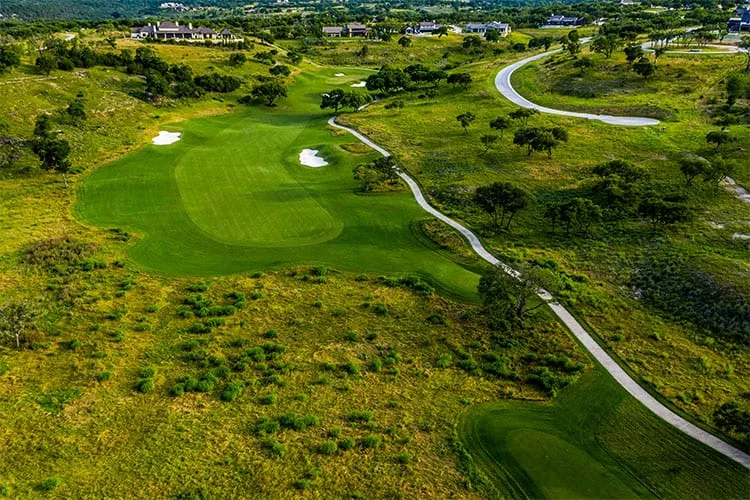
A subtle dogleg to the right. On the right side of the fairway, a large bunker might keep you from trying to cut the corner, although the proper line is to the right as the fairway slopes from right to left. Not a long hole, you might want to hit less than a driver to leave a short iron into the green, which slopes toward the back. It’s easy to end up over the green.

From the elevated tee, this hole usually plays shorter than the yardage, and there’s trouble if you go long: A pot bunker protects a back-right hole location, and a steep closely mown area sits back-left. But don’t be short, as there’s a steep drop-off left. The smart play is to the middle of the green, where a slight backboard effect helps keep balls on the surface.

The number-one handicap hole features the hardest tee shot on the course. Long hitters might consider trying to get on in two, but there’s plenty of trouble around the green. Bombers also should watch out for the left fairway bunker. The key shot on this hole, and all the par 5s, is the second: You probably want to lay up short of the wetlands and wedge onto the green. When approaching the green, long is better than short: A backstop behind will help hold shots, while getting out of the bunker in front can be difficult. Also, while you might not feel it down in the valley, there is almost sure to be wind above the trees.
How much do you want to cut off? The hole is wide open to the left (use the fairway bunker as your target), but leaves a longer approach to the green, which angles from left to right. Driving to the right significantly shortens the approach, but there’s a creek along the right side and the fairway slopes that way. Believe it or not, the best line is over the two trees directly in front of you. On the approach, go for the left side of the green, which is open so you can run the ball on. Miss it right and the ball will finish well below the putting surface and it’s a hard recovery from there.

On the scorecard, this hole is about the same length as number 2, but plays in a different direction and here the tee and green are on the same level. So you probably need more club than the yardage calls for. There’s also likely right-to-left wind above the trees, and the green is sloped toward you. The middle of the green is where you want to be, but if you’re slightly off, the closely mown grass offers numerous chipping options around the green complex.
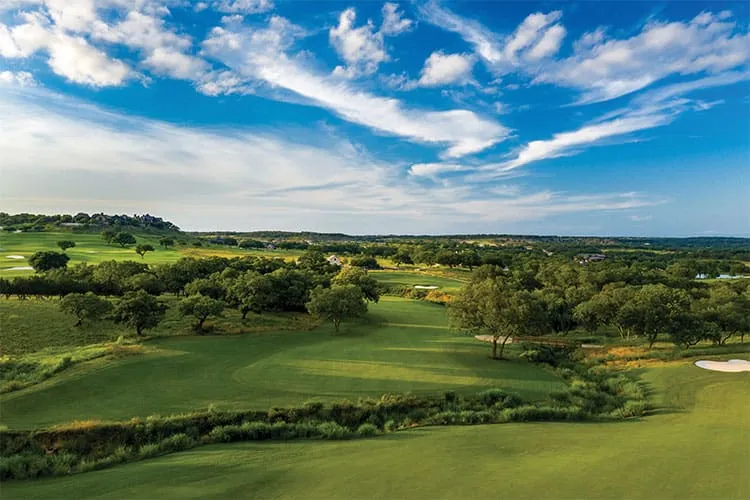
A big par 4 that plays both a little uphill and into the wind. The longer hitter may want to try cutting the corner, but watch out for the bunker. The fairway tilts right to left while the hole doglegs right to left, so aim the tee shot carefully up the right side of the fairway. On the approach, use the land to help bring the ball in from the right: Play between the bunker and the tree and let the slope do the work. The green falls off sharply on the left side.
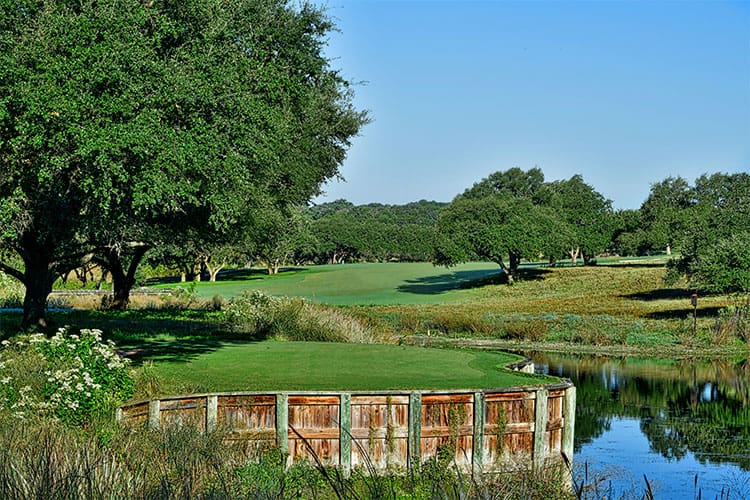
The green on this par 3 is one of the few on the course that runs away from you. But that’s not all: There’s a line of trees down the left side, the wind is usually helping, the green is angled left to right, and a creek runs along its right side. Try to land the ball on the front-left part of the green and let it run to the hole. If you’re considering hitting anything longer than a mid-iron, you’re probably playing from the wrong tees.
Before you do anything, take a good look at the hole: The tee shot offers multiple options. With a favorable wind, you might want to try driving across the creek in an attempt to reach the green in two. If you stay below the creek, the second shot needs just as much thought: Check your stance, as the ball is usually above the feet (for right-handed golfers), which leads to a hook. But there’s more grass to the left beyond the trees than you think, and the turf up there is pretty flat, making it easier to go at the green. If you’ve laid up, note that you’ll have to carry the ravine to an elevated green. The safe play is to the right and chipping back onto the green.

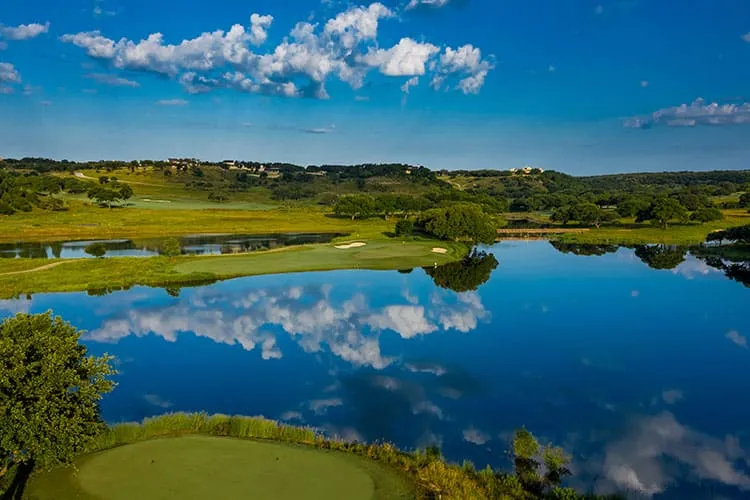
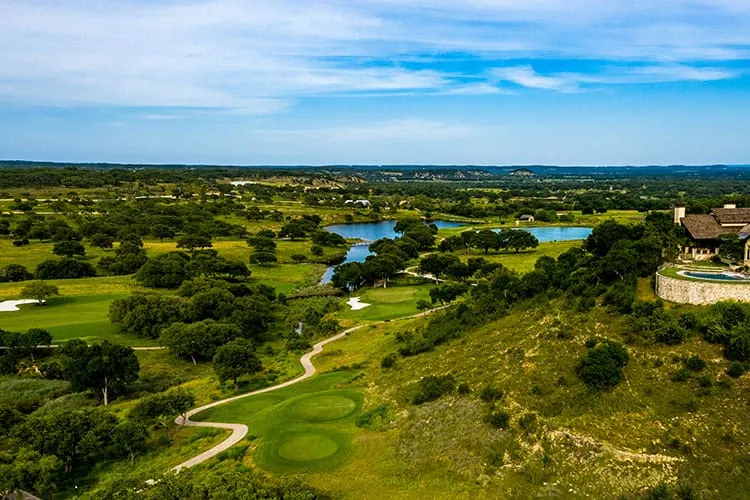
Although Hal Sutton says, “It just doesn’t look like you can miss the tee shot,” you can’t simply walk up and blast away. The hole is not as long as it looks due to the elevation change between tee and fairway. You want to aim down the right side and let the ball run down to the left (the right bunker is a good line). So driver might not be the play. From the fairway, be careful with the approach shot, which will probably be from a hanging lie to a small green, with that big lake waiting to catch any shot headed left.
There’s a little of everything on this hole, what Hal calls “the Mona Lisa of the golf course.” Most players will want to play safe staying left of Palo Alto Creek, and driver might not be the club, depending which tee you’re on and the wind. If you’re feeling long and strong, trying to carry everything and land in front of the green is an option. (There’s more turf there than you think, about 40 yards’ worth.) The green is long and narrow, so the more you’re approaching from the right, the more depth you have to work with, but also the grater the risk of finding the water. It’s all about playing the angles.

One of the few uphill tee shots on the course, but there’s still plenty of fairway. And even though the hole doglegs to the right, the drive should be straight, followed by a second shot out to the right. Aim down the right center of the fairway and you’ll be fine. The third shot is over a creek onto a tiered, triangular green. Even long hitters shouldn’t think about going for this hole in two since the green is hard enough to hold in three!
A great par 3 that demands both smart thinking and good execution. The wind is normally left to right (even if you can’t feel it, it’s likely there), but the further right you aim, the longer the shot. Aim for the left half of the green and let the wind and slope bring the ball to the middle. If that’s too daunting, aim for the long, thin landing area left of the green. If you’re playing from one of the shorter tees, there’s less angle into the green. A back-left greenside bunker protects from hitting into the hazard or long native grasses.
The hole plays straightaway, but if you can maneuver the ball, do so. Play left to right off the tee, then right to left into the green to take advantage of the natural movement of the land. The green actually plays larger than it looks thanks to the slope, which will take the ball to the green and away from the bunker on the right.
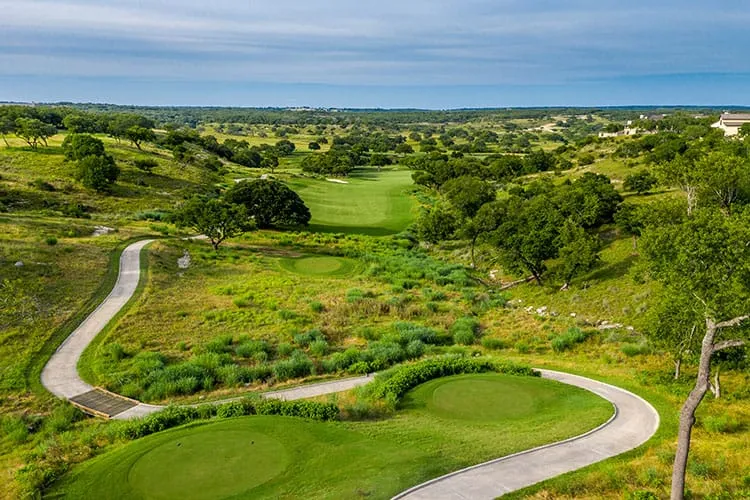
This short, fun par 4 is Hal’s test for seeing just how smart you are. You can try going for the green, but the percentage play is into the valley short of the bunkers—a long iron or hybrid should do it and it’s plenty wide down there—followed by a full wedge to a small green. And before you curse the left bunker, it’s there to keep short shots from running back down the hill. If you’re going to miss, go long and right. No wonder Hal calls this Mighty Mouse—“just a little bitty hole but it’s got a mighty bite to it.”

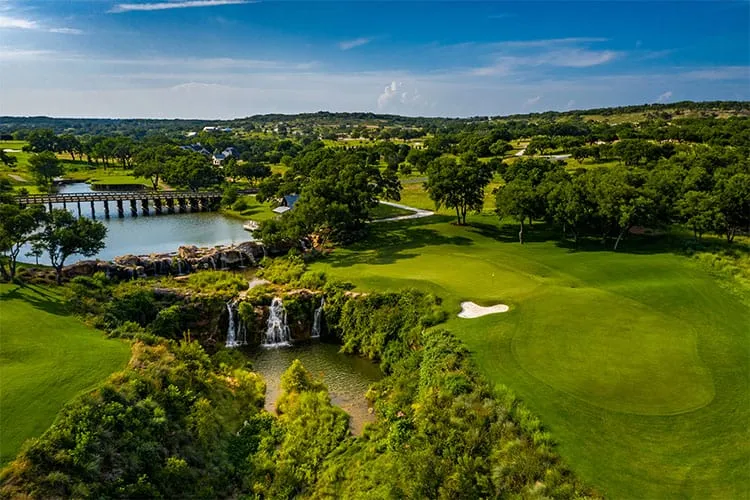
Surprisingly, this is the most expensive hole on the golf course, as some 6 to 8 feet of rock had to be cut out of the fairway and using dynamite would have changed the land too much. The tee shot has to be very precise to the dropped fairway, but the play is to be as aggressive as you feel comfortable with to leave a shorter approach. Going right opens up the green, which sits almost like an island and is backed by sand in a way that should remind you of Augusta National.
A big par 5 that plays downhill and downwind. Aim well left on the sloping fairway and let your ball roll down to the right (and, if properly struck, well short of the creek). With a big tree guarding the green, placement of the second shot is key: Left is the more aggressive line, right somewhat more favorable, but you’ll also have to choose whether to try chasing the ball under the tree or going over it. The green isn’t very deep and has a fair amount of slope. Avoid being long on your approach.
Another par 3 that demands thought before action. The tee is elevated but not enough to feel the right-to-left wind or see all the room to the right, which is where shots should be aimed. Playing to the right will leave a choice of options—chipping, pitching, putting—while any shot to the left brings the creek into play, although the grass area over there and the bunker capture golf balls headed for the creek. Still, right is the way to go.
A manageable but challenging par 5, the hole is straight but the bunkers on the right should be avoided. A cross bunker sits approximately 50 yards short of the green and the hole almost always plays dead into the wind, making it difficult to get home in two. If you can go for it, aim for the front left of the green, which is elevated and slopes to the right. The conservative play is either short of the cross bunker or to the right, below the green: You’ll be able to see the top of the flag from down there but not the surface itself, so pay close attention to the hole location.

Get a sneak peek at Longhorn Landing: your newest destination for family fun at Boot Ranch.
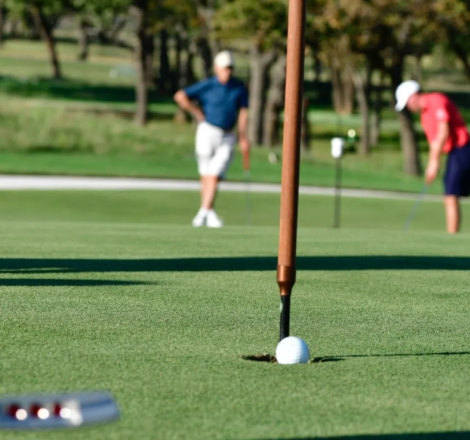
Summer fun awaits at Boot Ranch. Here are five ideas to inspire your adventures.

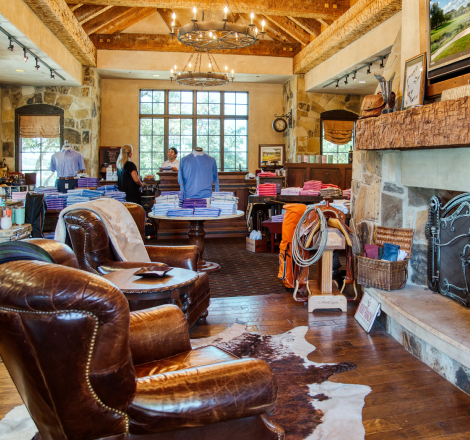
The Boot Ranch culinary team is crafting more delicious offerings than ever before. Here is a glimpse of the latest developments.